
REPLACE OUTDATED IN-FLOOR JETS WITH NEW AND IMPROVED PARTS
Hydraulically-efficient in-floor cleaner replacements improve pool cleaning
REPLACE
BLUE SQUARE
Part Numbers: 11420 GR, WT, BG, BK, BL
Removal Tool Part #1145099
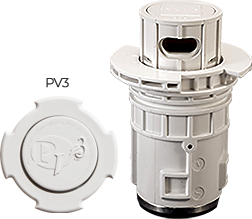
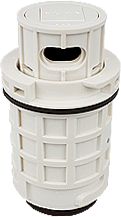
REPLACE
PARAMOUNT PV3
Part Numbers: 11520GR, 11520WT
Removal Tool Part #1145097
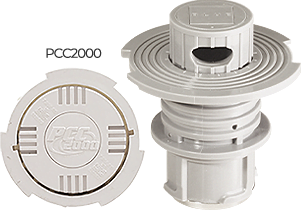
REPLACE PARAMOUNT
PCC2000 VANTAGE & VANQUISH
Part Numbers: 11550GR, 11550WT
Removal Tool Part #1145095
![]()
REPLACE
CARETAKER 99
Part Numbers: 11720GR, 11720WT
Removal Tool Part #1145099

REPLACE
A&A QUIKCLEAN 2
Part Numbers: 11620GR, 11620WT
Removal Tool Part #1145099
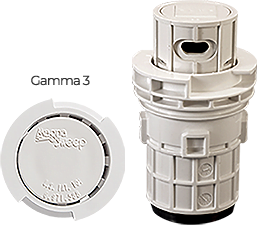
REPLACE
A&A GAMMA 3® + G4
Part Numbers: 11650GR, 11650WT
Removal Tool Part #1145099
![]()
WHY R360 JETS CLEAN BETTER
R360 jets are engineered for more jet velocity and better cleaning

New jet delivers more cleaning velocity to the floor where it counts
UPDATE TO THE WORLD’S MOST EFFICIENT WATER VALVE

REPLACES CARETAKER™
1 1/2″ Valve OR A&A™ 5-PORT VALVE
C5 Valve Adapter Kit
Part Number: 1145110

REPLACES A&A™ 2″ AND 1 1/2″ 6-PORT VALVE AND
PARAMOUNT™ 2″ 6-PORT VALVE
Q360 Actuator Valve Complete
Part Number: 1130100
**Please reference the Paramount to Q360 Valve Conversion Sheet for Paramount 2″ 6-Port Valve Replumbing Schematic